Cockpit coaming: quite a challenge I thought before I started - turned out medium difficult with the right approach (plywood jig :-)
 |
| the whole idea was to attach a 7 cm wide plywood strip INSIDE the cockpit edges and then attach the protruding front and back flush with the deck with screws. |
 |
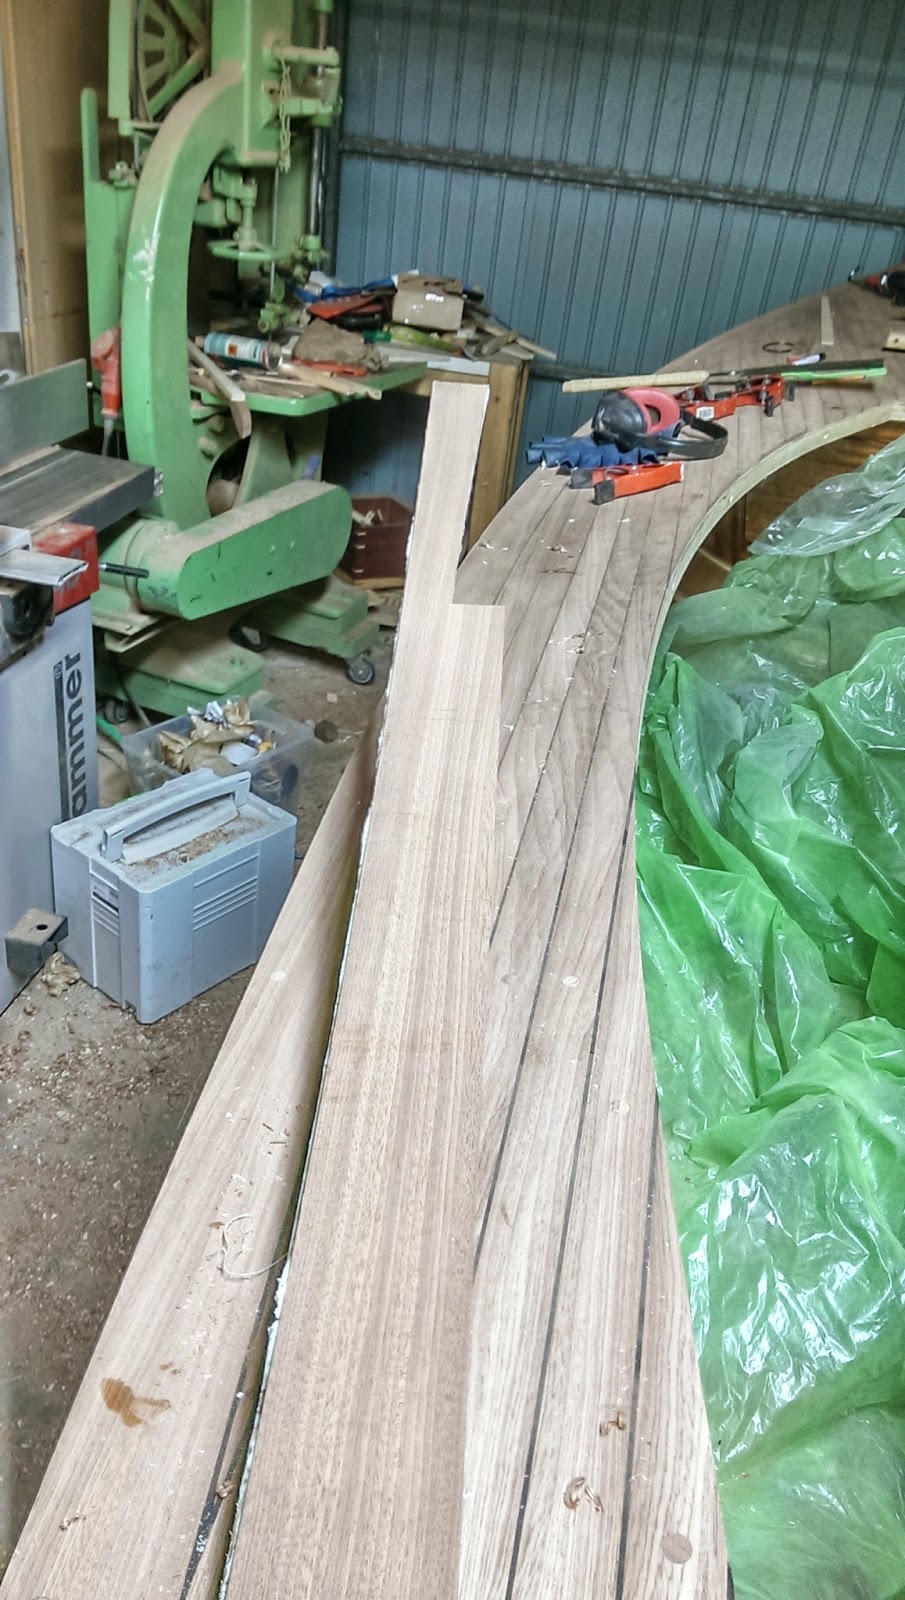
| this gave the perfect template for cutting the real piece. For each side I took 1x7 mm and 1x4 mm Mahogany, the 2 pieces were then bent-laminated in place, creating a 11 mm thick deck coaming. |
 |
| one of the in total 4 elements (2x4mm 2x7 mm) aftet cutting them out on the bandsaw following the template |
 |
| Template placed on top of actual piece |
 |
| after bend-laminating the pieces in place |


 |
| Installing the final pieces |
 |
| trimming them to the right height with the hand plane |


 |
| following were the front and aft end of the coaming |


 |
| I am so happy I bought this electrical planer... |
 |
| transom / deck connection also filled with Sikaflex 291 |
Keine Kommentare:
Kommentar veröffentlichen