Getting my head around how to create enough buoyancy in the boat, I juggled the idea of simply using inflatable lifting bodies (which I still may use) or installing bulkheads - which in addition may contribute to body rigidity of the entire structure. Also I like the idea of having some storage room etc. - all that beer on the fishing trips needs to go somewhere :-)
As for some reason I decided to use as little plywood as possible with the boat, I also wanted to make the bulkheads form solid Mahogany.
First step obviously is to create the exact pattern / template for the external shape of the bulkheads. I found the method as shown e.g. by
Louis Sauzedde https://www.youtube.com/watch?v=cj3K9i9nLrE
the most easy for me.
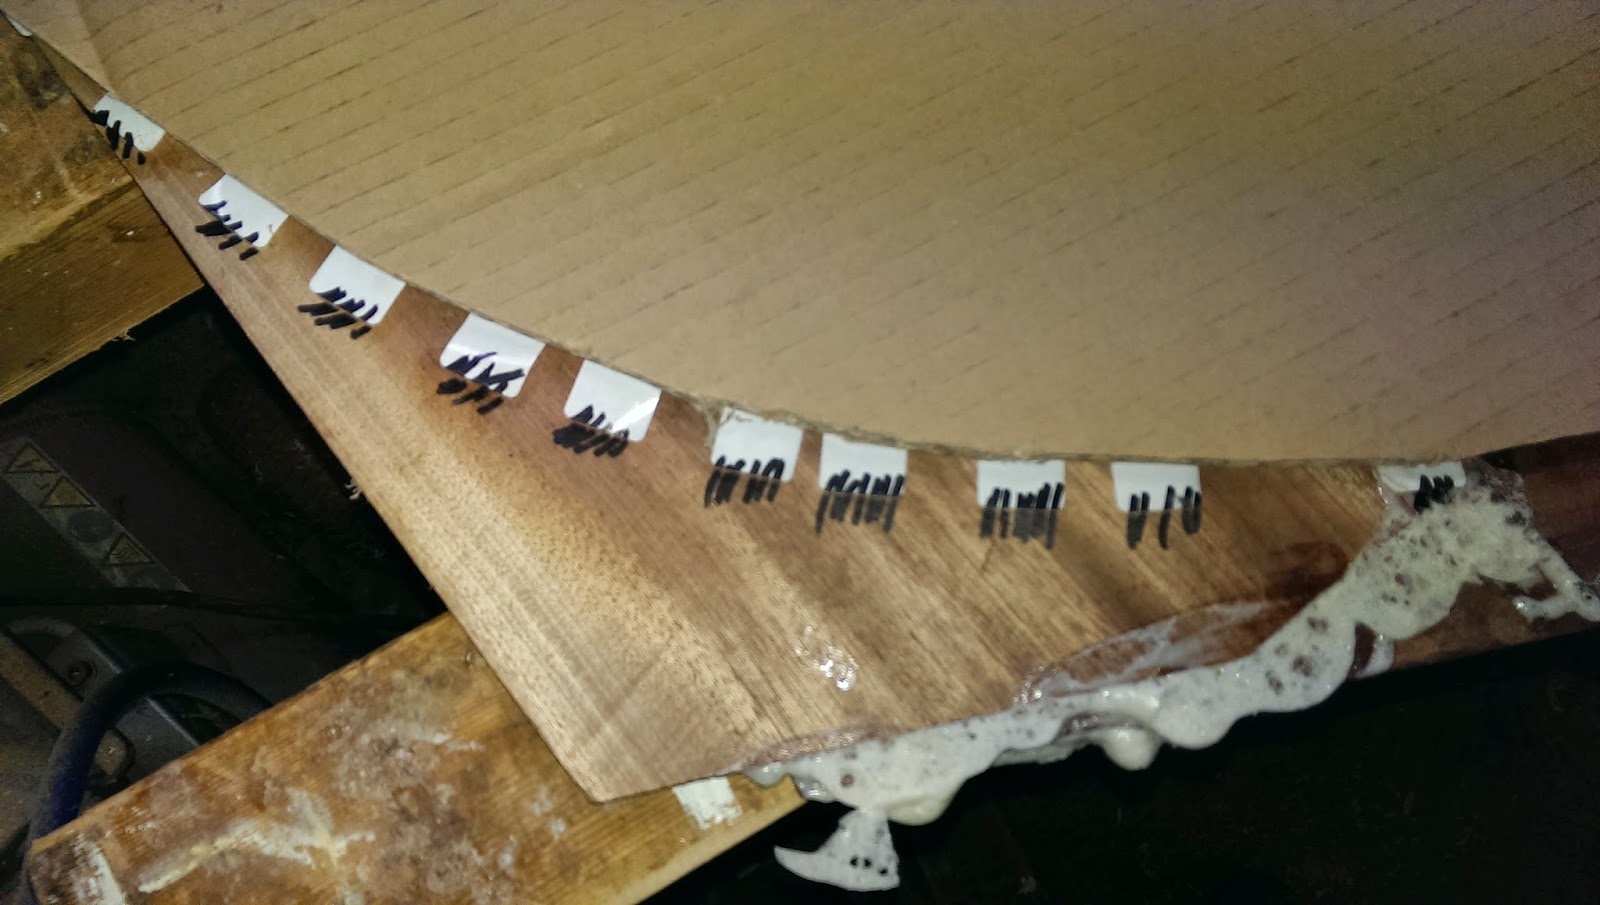
The video explains it all, basically it works with using self-adhesive labels and a rough cut piece of cardboard:
 |
| sticky labels to create the exact shape |
 |
| and the final patterns. |
Next step was milling the lumber for the actual bulkheads. I used Mahogany milled to 9mm (actually the boards are the "leftovers" from boards I had sawn already to thickness for future use as the stern of the boat.
 |
| Lumber prepared... |
 |
| Jig for cutting the mortises and tenons on the table saw |
 |
| one of the two front bulkheads |

 |
| Aft bulkhead |
 |
| After glue-up |
 |
| Marking the saw line with a pencil |
 |
| and here is the cutting line |
 |
| Dry-fitting |
 |
| Final fit and gluing into place |
 |
| same for the aft bulkhead. The solid spruce and ash pieces are already rough cut elements of the rear deck structure |


Keine Kommentare:
Kommentar veröffentlichen