Sonntag, 19. April 2015

Further details of the deck-coaming, mast partner and rubrails

More parts are coming together, it is real fun to see the boat taking more and more of the final shape.


just some more detail views


turning the cover for the mast partner on the lathe. The hole was cut out with the same jig that was also used for the mast partner supporting structure, king plank, deck etc.


mounted in place


Next: Rubrails. Here, scarfs to create 6m long raw materials for the rub rails

scarfs glued together


"inner" rubrails are already in place, "outer" rails just about to be glued on


Cockpit-coaming and stern

Cockpit coaming: quite a challenge I thought before I started - turned out medium difficult with the right approach (plywood jig :-)


the whole idea was to attach a 7 cm wide plywood strip INSIDE the cockpit edges and then attach the protruding front and back flush with the deck with screws.

this gave the perfect template for cutting the real piece. For each side I took 1x7 mm and 1x4 mm Mahogany, the 2 pieces were then bent-laminated in place, creating a 11 mm thick deck coaming.


one of the in total 4 elements (2x4mm 2x7 mm) aftet cutting them out on the bandsaw following the template 

Template placed on top of actual piece

after bend-laminating the pieces in place


Installing the final pieces

trimming them to the right height with the hand plane

following were the front and aft end of the coaming

It`s getting serious now - the Mahogany deck.

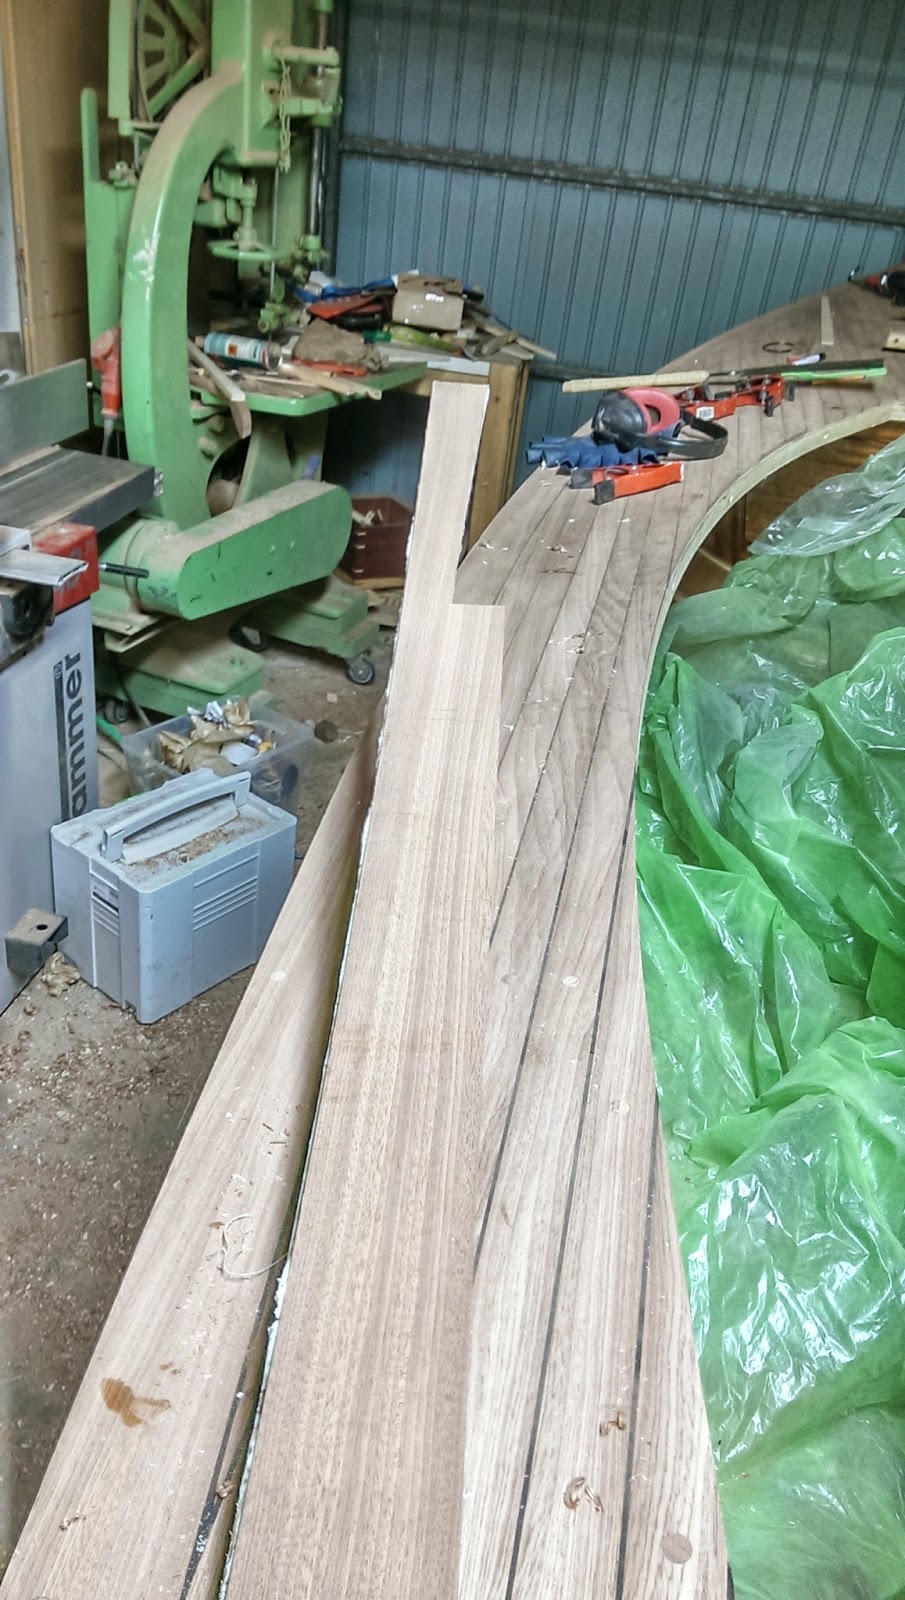
They plywood sub-deck has been glued in place and all the edges trimmed flush with the router. Next was quite a bit of table-saw work on the Mahogany, cutting a decent number of 8 mm thick, 33 mm wide (after planing) planks

6 meter long, handling those guys saves plenty of money for the fitness club.


just good that the full length was only required for the outside planks (and the toerails, which  were also already cut and planed)


Creating the outer deck planks from 2 33 mm planks. 

clamp-gathering...

and in place, glued, screwed and plugged

from the bow...

now the planking starts. A lot of discussion went into the question of the planks should follow the outer curve of the deck (classic Yacht-deck) or just be straight. At the end the majority of the votes went for straight, which now I also think fits the period of the original Melonseed better.


Getting there...

and the sealing - Sika 291, amazing stuff...


the sanding process was less bad than expected. Not even a full day. Turned out the best combination for me is belt sander with 8 grit to get a flat surface and take the Sikaflex off. Just need to make sure to NEVER stay in one place with the belt sander. 

The belt sander activity was followed-up with a lot of very healthy manual sanding / leveling with a longboard with 100 grit sandpaper.
self-made long board in place.


the result is approved...
trimming the edges with the trim bit in the router


Deck - the first layer with plywood


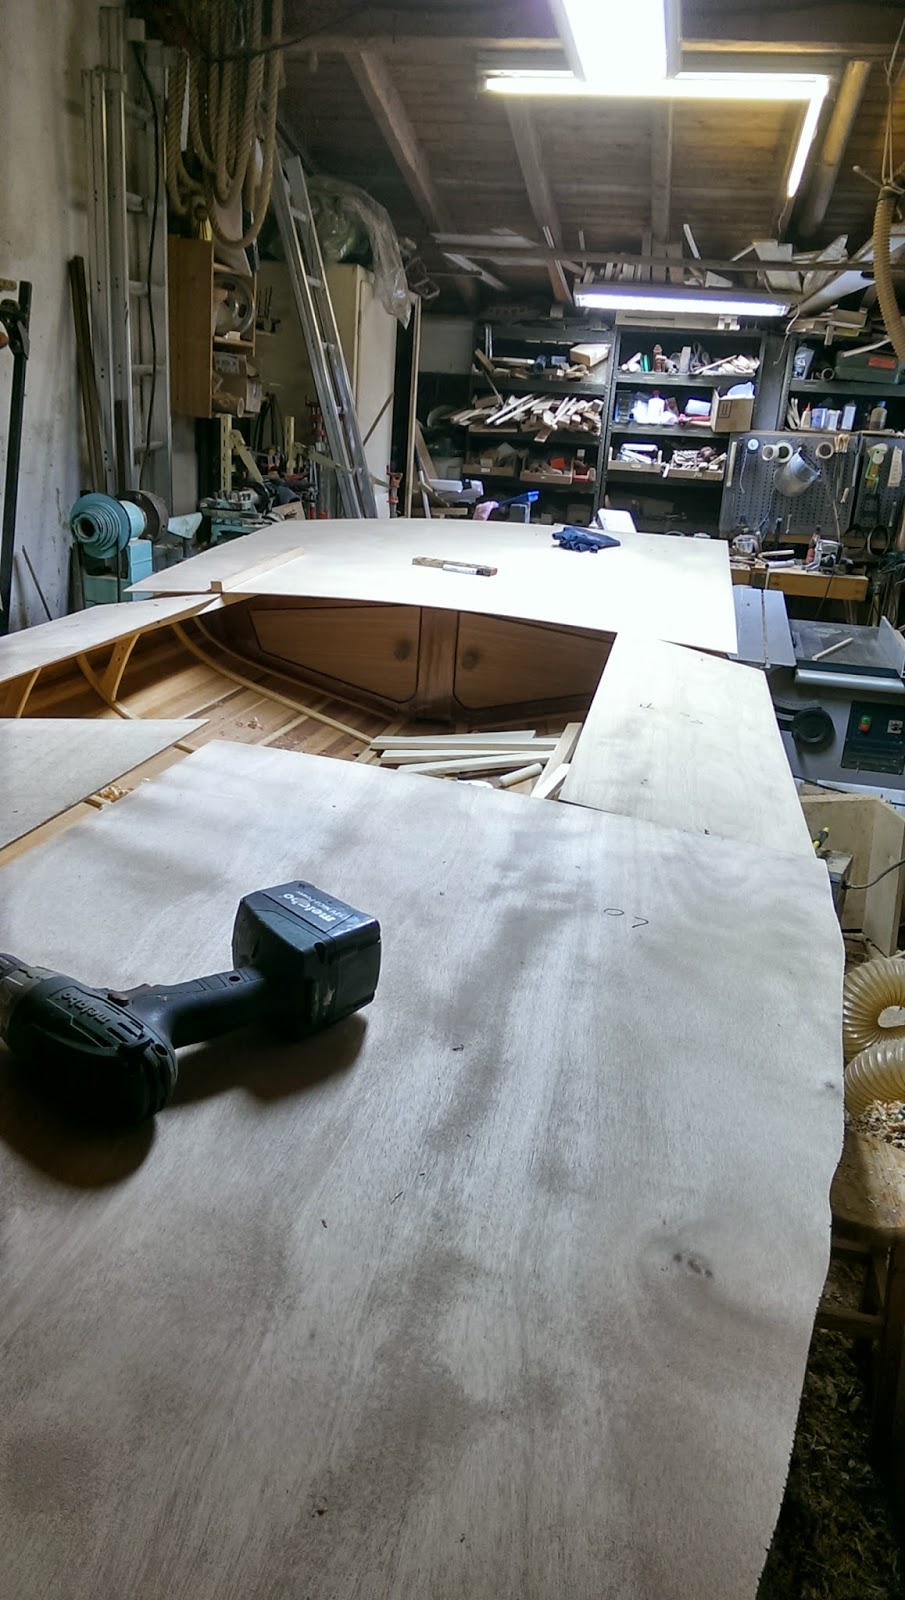
Time for the deck - the first layer is made out of 4 mm marine-grade Okume plywood. This will later be covered with Mahogany planks.

raw cut...

after sealing the inside surface with 2 layers of epoxy

i thought it be a good idea to take the layout of the supporting deck structure to have a "plan"" for future mounting of  deck fittings etc.


careful taping off all non-glue surfaces

plywood deck after glue-up

I simply used screws to keep the deck in place while the thickened epoxy cures. The screws were removed afterwards. I found this the most efficient way to keep the deck in place while ensuring a tight fit on all gluing surfaces. The screw holes dont play a role at all as they will be covered with the top layer anyway.